
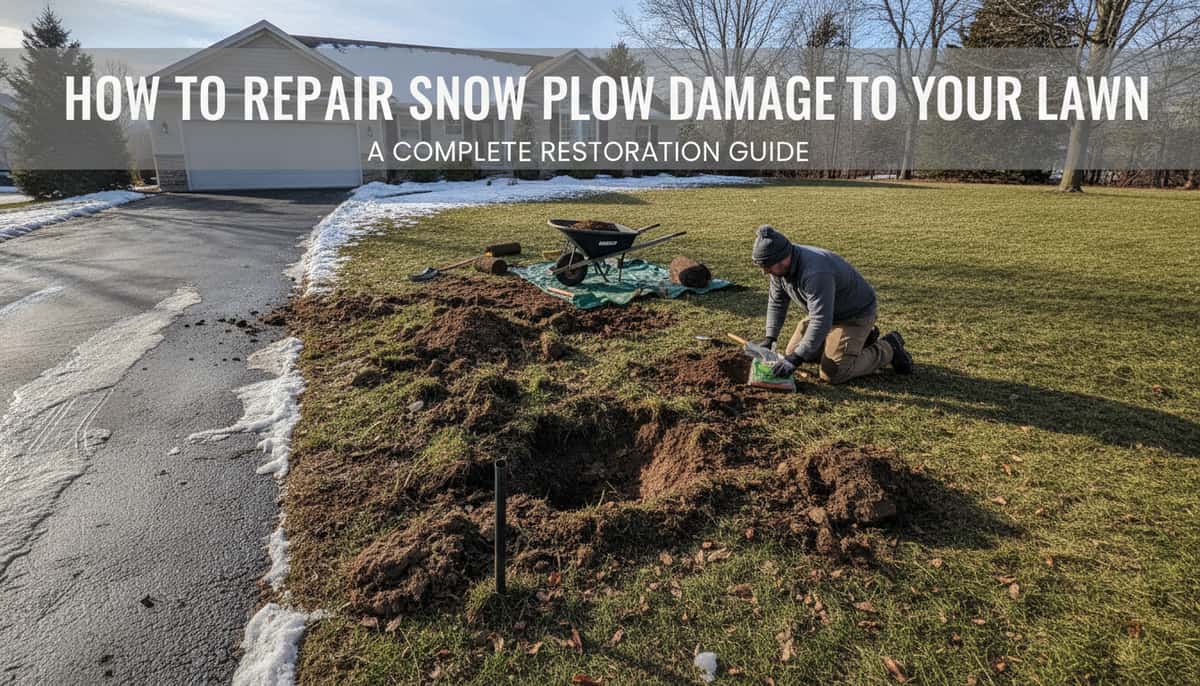
How to Repair Snow Plow Damage to Your Lawn: A Complete Restoration Guide
As the final snowdrifts of winter melt away, many homeowners are met with a disheartening sight: deep ruts, displaced chunks of turf, and brown, withered patches along the edges of their driveways and sidewalks. While snow plows are essential for keeping our communities mobile during the deep freeze, the mechanical force of a plow blade against a frozen or saturated lawn often results in significant collateral damage.
Repairing this damage is more than just an aesthetic necessity; it is a critical step in maintaining the structural integrity of your landscape. Left unaddressed, plow ruts can lead to soil erosion, tripping hazards, and an invitation for invasive weeds to take hold. Fortunately, with the right approach and a bit of "lawn love," most grass is remarkably resilient.
Why Snow Plows Cause Such Extensive Lawn Damage
To fix the problem, it is helpful to understand why it happens in the first place. Massachusetts landscaper Greg Cuoco notes that the health of your lawn prior to winter plays a massive role in how it survives the plow. However, even the healthiest lawn is at the mercy of the blade when the ground is hidden.
The primary issue is visibility. Without a clear demarcation line—such as landscape edging or a gravel buffer—a plow driver cannot see where the pavement ends and the grass begins under a foot of snow. As the blade scrapes the surface, it catches the dormant grass.
Furthermore, lawn expert Steven Corcoran points out that winter conditions exacerbate the physical tearing of the turf. "When only a small spot is touched by the snow plow, a larger area ends up being damaged because of how it can all stick together more," Corcoran explains. The frozen moisture acts as a binding agent, meaning a small "catch" by the blade can rip up a large "carpet" of turf in a single motion.
Assessing the Damage: From Minor Scrapes to Deep Ruts
Before rushing out with a shovel and a bag of seed, take a walk along your property line to categorize the damage. Your restoration strategy will depend entirely on the severity of the impact.
Minor Surface Damage
If the plow simply "shaved" the top of the grass without pulling up the roots, you may not need to do much at all. According to lawn care specialist Chrissie Handley, grass often recovers naturally once temperatures warm up, provided the root system remains undisturbed. If the area looks thin but the soil is level, a simple application of through overseeding is usually sufficient.
Moderate Damage and Ruts
When the plow blade digs into the soil, it creates ruts. These depressions compress the soil and destroy the localized root structure. These areas will not "self-heal" because the physical structure of the ground has been altered. You will need to bring in supplemental soil to level the area before any regrowth can occur.
Severe Turf Loss
In the worst-case scenarios, entire sections of the lawn are peeled back or deposited in a heap several feet away. In these instances, the grass will not grow back on its own. You are essentially starting from scratch, requiring a combination of soil reconstruction and aggressive reseeding or sodding.
The Step-by-Step Grass Recovery Process
For moderate to severe damage, Greg Cuoco recommends a systematic approach to ensure the new grass takes hold and blends seamlessly with your existing lawn.
- Hydration is Key: Water the area lightly but frequently. The goal is to keep the top inch of soil consistently moist until the new blades are at least two inches tall.
For those looking to get a head start on all aspects of their spring yard work, coordinating your plow repairs with your broader weed strategy is essential. You can learn more about timing these interventions in our guide: The Ultimate Early Spring Weed Prevention Guide: How to Stop Weeds Before They Start.
Mitigating the "Silent Killer": De-icing Salt Damage
While the physical tearing of the lawn is obvious, the chemical damage caused by road salt (sodium chloride) is often more insidious. Salt is a desiccant; it draws moisture away from grass roots, effectively "burning" the plant even if the soil is wet. Furthermore, salt disrupts the nutrient balance of the soil, making it difficult for grass to absorb essential minerals.
Turf grass specialist Ryan Walts suggests a three-pronged approach to salt recovery:
1. The Deep Flush
As soon as the ground thaws and the taps are turned back on, heavily water the areas adjacent to the road or driveway. This helps leach the accumulated salts deeper into the soil profile, away from the delicate root zone of the grass.
2. Apply Pelletized Gypsum
Gypsum (calcium sulfate) is a miracle worker for salt-damaged soil. The calcium in the gypsum replaces the sodium on the soil particles, allowing the salt to be washed away more easily. is easy to apply with a standard spreader and won't significantly alter your soil's pH.
3. Add Organic Matter
Salt-damaged soil is often "dead" soil. Adding a thin layer of compost can help reintroduce beneficial microorganisms and improve the soil structure, making it more hospitable for new seed.
Soil Health: Addressing Compaction and pH
The weight of a snow plow and the heavy snow it carries can lead to severe soil compaction. Compacted soil lacks the pore space necessary for air and water to reach the roots. Chrissie Handley emphasizes that "compacted soil can prevent healthy grass growth."
If your soil feels hard or if water beads on the surface rather than soaking in, consider using a or a power aerator in March. Aeration pulls small plugs of soil out of the ground, allowing the earth to "breathe" and creating perfect channels for new grass seed to fall into.
Understanding pH in Repair
When top dressing a distressed lawn, the material you choose should be dictated by your soil's chemistry.
- Low pH (Acidic Soil): Use high-quality compost. This adds nutrients and helps buffer the acidity.
- High pH (Alkaline Soil): Use peat moss. Peat moss is naturally acidic and can help bring a high-pH soil back into a neutral range, which is ideal for most turf grasses.
Regardless of which you choose, Cuoco advises applying no more than half an inch of top dressing. Rake it evenly and keep the area protected from foot traffic (and pets) during the delicate germination phase.
Legal and Preventative Measures
A common question among homeowners is: Who is responsible for this mess?
The answer depends on your local municipality. In many jurisdictions, if a city-contracted plow skips over the curb or street boundary and gouges the grass, the public works department may be responsible for the repair. However, damage caused by the weight of snow piled onto the lawn is typically considered "normal winter wear and tear" and falls on the homeowner. Always check with your local public works department before beginning expensive repairs if you believe the city was at fault.
Preventing Future Damage
To avoid repeating this process next year, consider these preventative steps:
- Install Snow Stakes: Use reflective fiberglass markers to outline the edges of your driveway and sidewalks. This gives plow drivers a visual guide even in heavy snow.
- Create a Buffer: If you are redesigning your landscape, consider a 12-inch buffer of decorative stone or mulch between the pavement and the grass. This acts as a "sacrifice zone" for the plow blade. If you are planning a more extensive garden redesign to accompany your lawn repair, see our guide on Maximize Your Harvest: The Essential Guide to Designing a Productive Raised Bed Garden Layout for tips on structural landscape planning.
By taking a proactive approach to repair and mitigation, you can turn those unsightly winter scars into a lush, green frame for your home. Remember, the key to successful grass recovery is patience, the right soil amendments, and consistent moisture. Spring is the season of renewal—make sure your lawn is part of the transformation.