
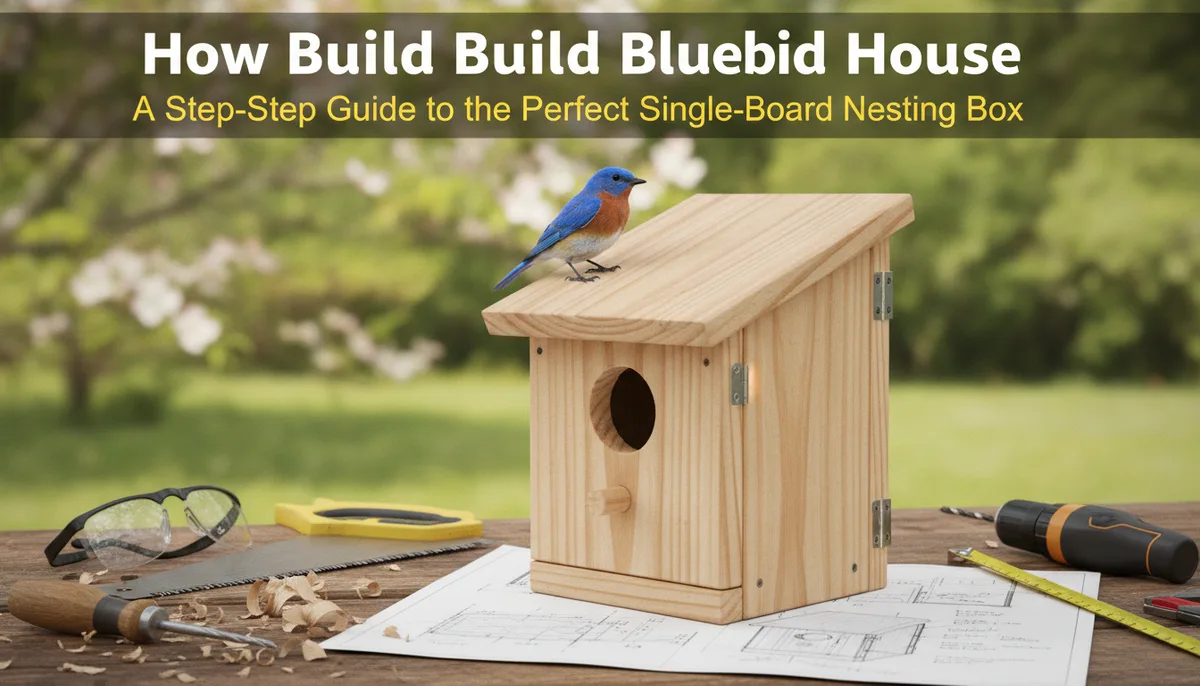
How to Build a Bluebird House: A Step-by-Step Guide to the Perfect Single-Board Nesting Box
Attracting bluebirds to your property is one of the most rewarding experiences for any homeowner or gardening enthusiast. Known for their vibrant plumage and melodic songs, bluebirds are more than just a beautiful sight; they are an essential part of a healthy backyard ecosystem. However, these birds are famously "picky" when it comes to their real estate. They require specific interior dimensions, precise entrance hole sizing, and a safe environment away from predators.
Building your own nesting box ensures that you meet these strict requirements while adding a touch of handcrafted charm to your landscape. This project is designed for efficiency, utilizing a single 1x6 board to create a durable, species-specific home in about two hours. Whether you are looking to enhance your home’s curb appeal or create a sanctuary as part of your Preservation with Purpose: Design Lessons from Pamela Anderson’s Garden of Eden, this guide provides everything you need to get started.
Understanding the Bluebird’s Requirements
Before you start cutting, it is vital to understand why the dimensions of a bluebird house are so specific. Bluebirds are secondary cavity nesters, meaning they look for holes in trees or abandoned woodpecker nests. Because natural cavities are becoming increasingly scarce due to land development and the removal of dead trees, providing a man-made box is a significant conservation effort.
The 1.5-inch entrance hole is the "golden rule" of bluebird conservation. It is large enough for Eastern Bluebirds to enter but small enough to exclude European Starlings, which are notorious for usurping nests. Additionally, using untreated wood like cedar is non-negotiable. Treated lumber contains chemicals that can be toxic to developing chicks, especially in the high-heat environment of a nesting box.
Tools and Materials List
To complete this project, you will need a few standard woodworking tools. If you are comfortable with basic power tools, this project is rated at a beginner level.
Materials
- One 1x6 board (6 feet long): Cedar is preferred for its longevity and natural resistance to decay, but pine is a suitable, budget-friendly alternative.
- Fasteners: 1-3/4 inch exterior-grade wood screws or galvanized finish nails.
- Mounting hardware: A T-post or wooden 4x4 post.
Tools
- Miter Saw: For clean, square crosscuts.
- Table Saw: Necessary for cutting the 10-degree bevels on the roof and body pieces.
- Drill Press or Power Drill: Equipped with a 1.5-inch Forstner bit for the entrance hole.
- Clamps: To hold pieces in place during assembly.
Step-by-Step Cutting Guide
Precision is the key to a successful build. Follow these measurements carefully to ensure all pieces from your 1x6 board (which actually measures 5.5 inches wide) fit together perfectly.
The Cut List
- Front (A): 5.5" x 9.25"
- Sides (B): Two pieces at 5.5" x 10.75"
- Back (C): 5.5" x 16.5"
- Roof (D): 5.5" x 8"
- Floor (E): 4" x 4"
Start by laying out your components on the board. If you are using cedar, you will likely notice a "rough" side and a "smooth" side. For the exterior of the house, face the rough side out. This provides a more natural look and better weather resistance.
Use your miter saw to cut the pieces to length. Once the basic shapes are cut, move to the table saw to create the 10-degree bevels. You will need a bevel at the top edges of the front (A) and back (C) pieces so the roof sits flush at an angle. Additionally, cut a 10-degree bevel at the back edge of the roof (D) where it meets the back support.
Assembly and Ventilation
Assembly should begin with a "dry fit." Use clamps to hold the sides to the back piece to ensure everything is square.
Drilling the Entrance and Vents
Take the front piece (A) and use your 1.5-inch Forstner bit to drill the entrance hole. The center of the hole should be located roughly 2 inches from the top of the piece.
Ventilation and drainage are often overlooked but are critical for the survival of the brood. Drill four 1/4-inch ventilation holes near the top of the side pieces to allow heat to escape. In the floor piece (E), drill four 3/8-inch holes in the corners to ensure any wind-blown rain can drain away quickly, keeping the nesting material dry.
Putting it Together
When you are ready to fasten the pieces, remember to use galvanized or stainless steel fasteners to prevent rust streaks. If you are a fan of DIY home improvement projects, like those found in our guide From Grey Rock to Grand Entertaining: A Father-Son Guide to Building a DIY Trex Deck, you know that pre-drilling pilot holes is the best way to prevent the wood from splitting, especially near the edges of cedar.
Assemble the box with the smooth side of the wood facing inward and the rough side facing out. This provides the fledglings with enough texture on the interior walls to grip the wood when they are ready to climb out for their first flight.
Strategic Placement for Nesting Success
Where you place your bluebird house is just as important as how you build it. Bluebirds prefer open, sun-drenched areas with short grass, which makes it easier for them to spot insects.
Height and Orientation
Mount your birdhouse on a post between four and six feet high. Facing the house East or Southeast is the standard recommendation. This orientation catches the early morning sun to warm the chicks after a cool night but keeps the entrance shaded during the hottest part of the summer afternoon. Avoid placing the house in deeply shaded areas or near thick brush where predators like cats or snakes can easily hide.
Predator Protection
To truly protect your local bluebird population, consider adding a baffle to your mounting pole. A stovepipe-style baffle or a cone baffle prevents raccoons and snakes from climbing the post to reach the nest.
Managing Competitors and Maintenance
Once your birdhouse is up, your job isn't quite finished. You must monitor the box to ensure that invasive species, such as House Sparrows, do not take over. House Sparrows are aggressive and can harm bluebirds. If you see a sparrow building a nest (typically identified by a messy pile of tall grass and feathers reaching the roof), remove the nesting material immediately to discourage them.
Seasonal Cleaning
At the end of the nesting season (usually late summer or early fall), open the house and remove the old nest. This prevents the buildup of parasites and makes the box more attractive for the following spring. Some bluebirds may even use the clean box as a roosting spot to stay warm during cold winter nights.
Maintaining a clean and safe environment is similar to managing pests in a garden; just as you might refer to Mastering Cucumber Beetle Control: A Professional Guide to Protecting Your Harvest to save your crops, monitoring your birdhouse saves the next generation of songbirds.
The Joy of Conservation at Home
Building a bluebird house is a low-cost, high-reward project that connects you directly with the rhythms of nature. By taking the time to use the correct dimensions and high-quality materials, you provide a vital service to a species that has struggled in the past due to habitat loss.
As you watch a pair of bluebirds choose your handcrafted box, bring up their young, and eventually fledge their chicks, you’ll realize that a simple 1x6 board can indeed become the center of a thriving backyard world. It is these small, intentional steps in home and garden management that turn a simple property into a true sanctuary.